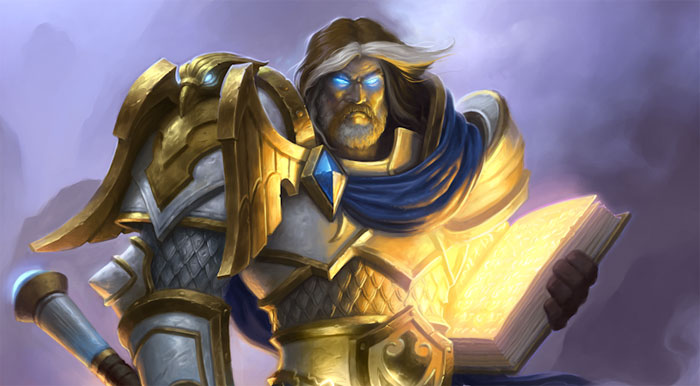
Welcome to my Inn! — err, kitchen. As many you may already know, I have a terrible and soul crushing obsession with Hearthstone: Heroes of Warcraft. I JUST CAN’T STOP, OK?
I’ve made a few Hearthstone in the past, such as Hearthscones and The Polenta Coin, but it has been a while since my last Hearthstone recipe. But, I’m here to fix that because…
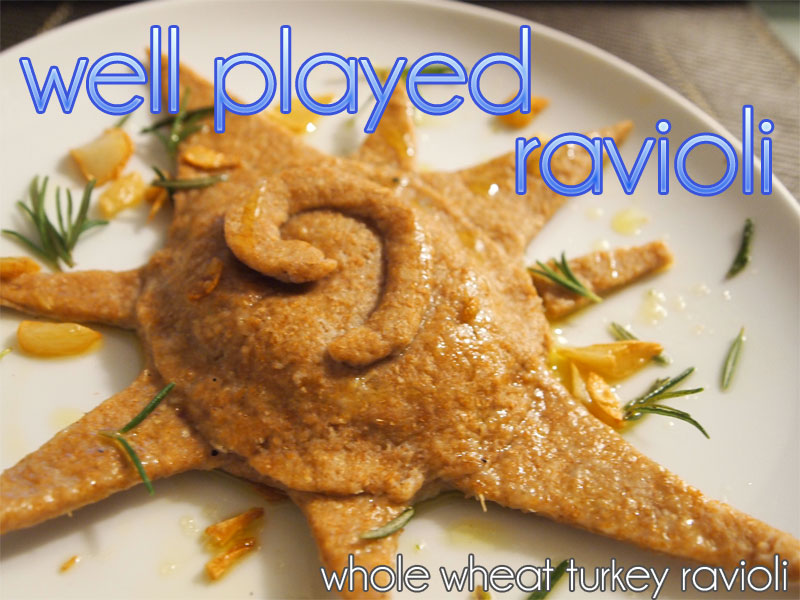
JUSTICE DEMANDS RAVIOLI.
…I’ll see myself out.
This recipe is extra healthy as it combines whole wheat flour, lean turkey and Quest protein powder. We’re all ’bout those GAINS!
Whole wheat causes the dough to be much more denser, so you will want to roll the pasta sheets as thin as possible.
UNIT COMPOSITION
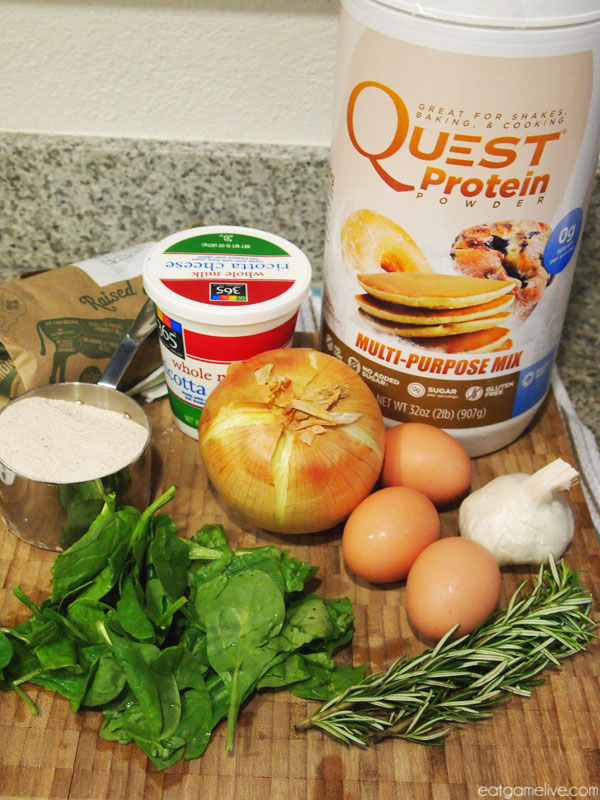
- salt
- pepper
- 1 1/2 scoops of Quest protein powder
- 1 cup of water
- 1 1/2 cup whole wheat flour
- 3 tablespoons of olive oil
- 2 sprigs of rosemary
- 6 cloves of garlic, sliced
- 1/2 onion, diced
- 3 eggs
- 1 cup of spinach
- 1 1/2 cups of ricotta cheese
- 1/4 lb of ground turkey
BUILD ORDER
Prep time for this recipe is about 40 minutes. Cook time is about 25 minutes. This will make 3 servings (3 large raviolis). There may be some left over filling.
Each serving will contain about ~22g of protein.
OPENING
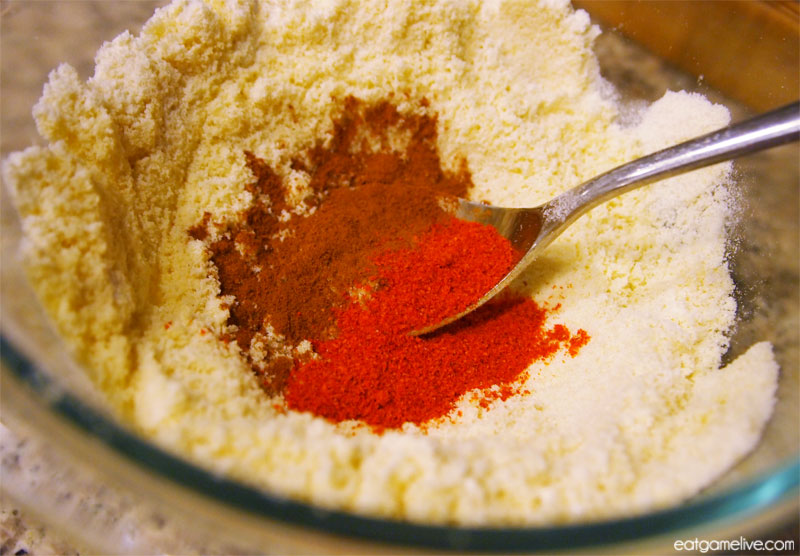
- Place your whole wheat flour and 1 scoop of protein powder on a flat and flour-dusted surface.
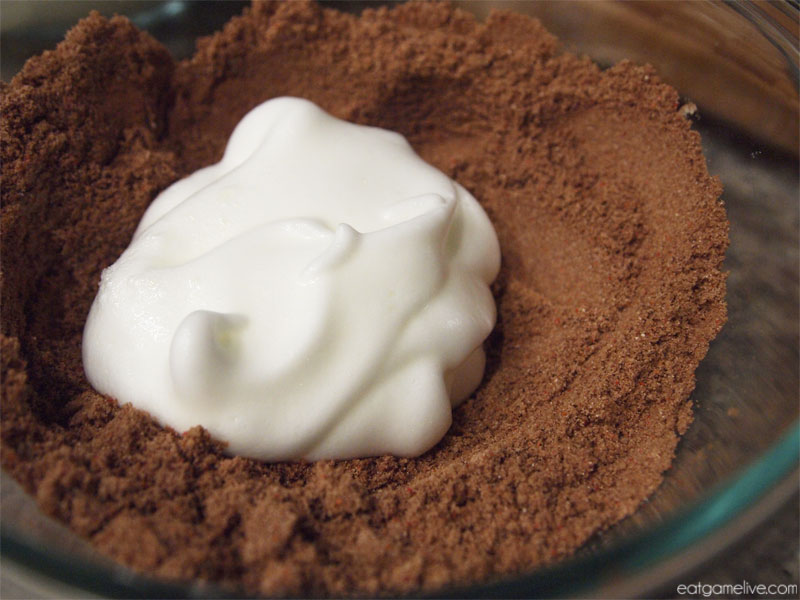
- Make an indent and crack your eggs. Using a fork, mix the eggs. Once the eggs have been mixed, add in the water and begin slowly incorporating the flour into the liquid to create the dough.
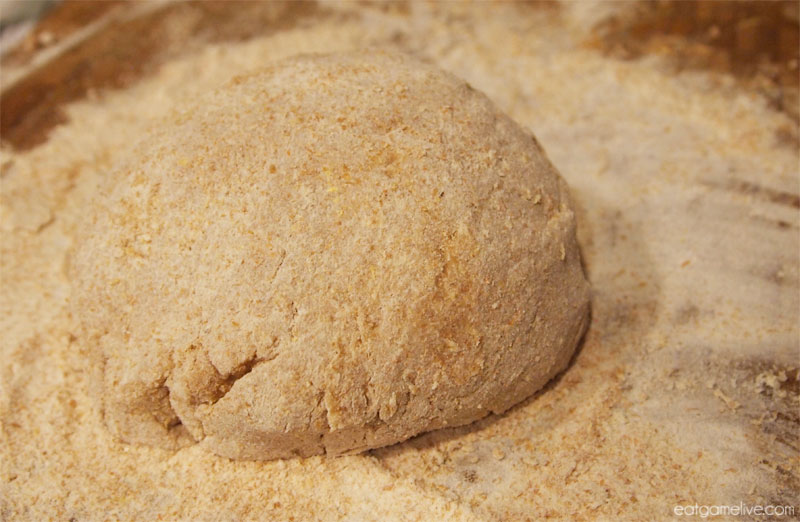
- Fold the dough in on itself until you can create a large dough ball. Cover the dough with a slightly damp towel. Allow the dough to rest for about 30 minutes. During this time, prepare the turkey filling.
MID GAME
- Set a large skillet on high heat. Add in 1 tablespoon of olive oil.
- Saute 2 cloves of garlic and your chopped onion.
- Add in your ground turkey. Season with salt and pepper.
- Add in your spinach.
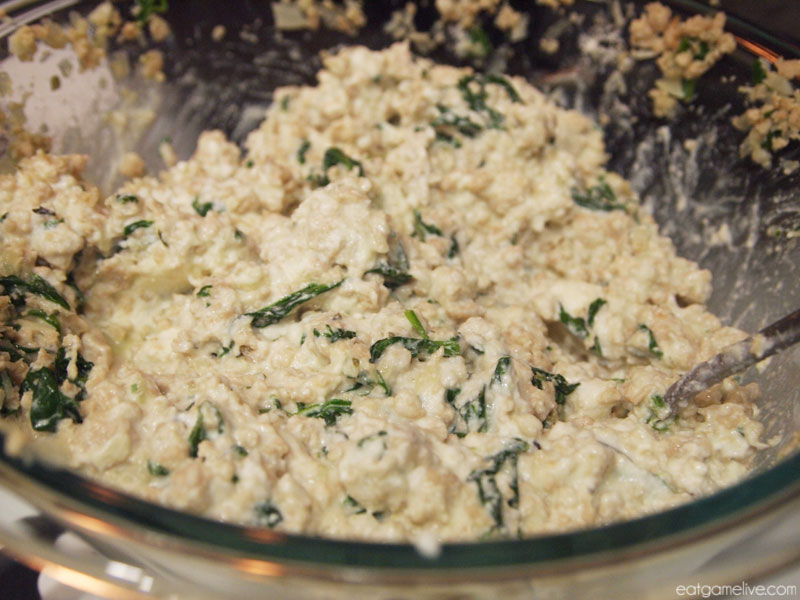
- Once the turkey has cooked, remove it from the heat and place in a large bowl. Allow the mix to cool for about 10 minutes.
- Add in your ricotta cheese and remaining protein powder. Stir to combine thoroughly.
LATE GAME
- To prepare your pasta sheets, break your dough into four sections. Using a rolling pin (dusted with flour), roll your dough sections into sheets small enough to fit through your pasta machine. Dust your pasta machine with flour. You will want your pasta rolled out on the thinnest setting possible.
- Once your pasta has rolled out, cut out circles (I used a 4″ cookie cutter).
- Cut out 4 long triangles and 4 short triangles. This is to create the points of the Hearthstone star.
- Place the triangles in alternating fashion on top of a circle. Place about a tablespoon of filling in the center of the circle.
- Place another circle of dough over the filling and crimp the edges together. Create the Hearthstone logo using a thin strand of dough.
- Set a pot of water to boil and season with salt. Cook your raviolis for about 5 minutes and remove.
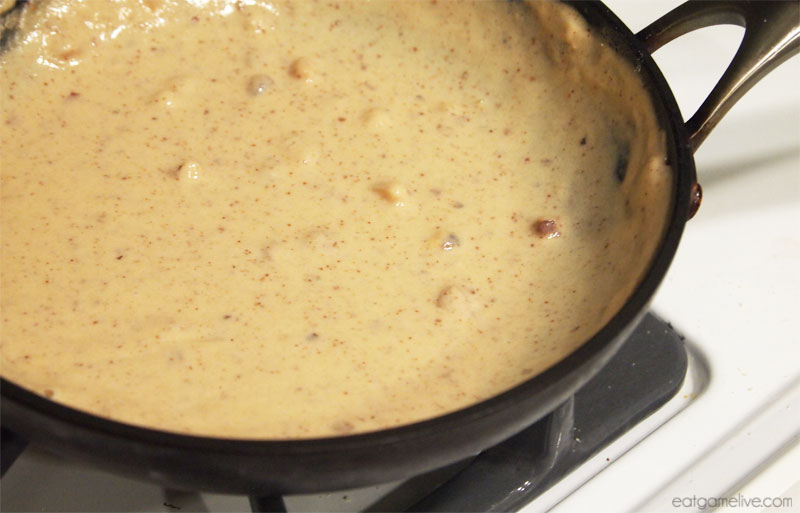
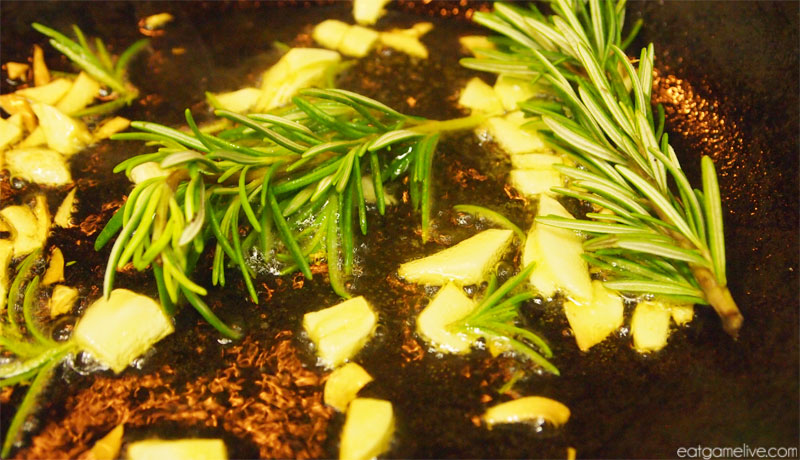
- While your raviolis are cooking, prepare your sauce by combining your remaining 2 tablespoons of olive oil, garlic and rosemary in a hot pan. Allow the garlic to brown. Remove from heat and set aside.
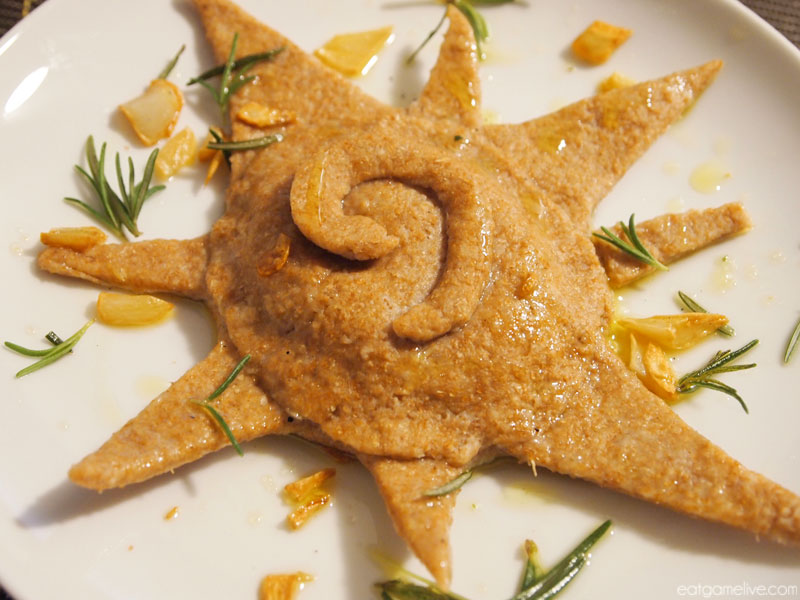
- Plate your ravioli. Then, drizzle your rosemary olive oil sauce over the ravioli. Make sure to place some toasted garlic over the ravioli.
- Garnish your plate with rosemary sprigs.
- Eat!
GG WELL PLAYED!
Now that you’ve learned how to make Well Played Ravioli, GET IN THERE AND COOK, MAGGOT!
Also, woohoo, Happy Birthday Hearthstone! <3
——————————————————————————————————————————–
This recipe was created with support from Quest Gaming. Follow them on Facebook and Twitter to learn more about how other gamers eat healthy and #CheatClean.

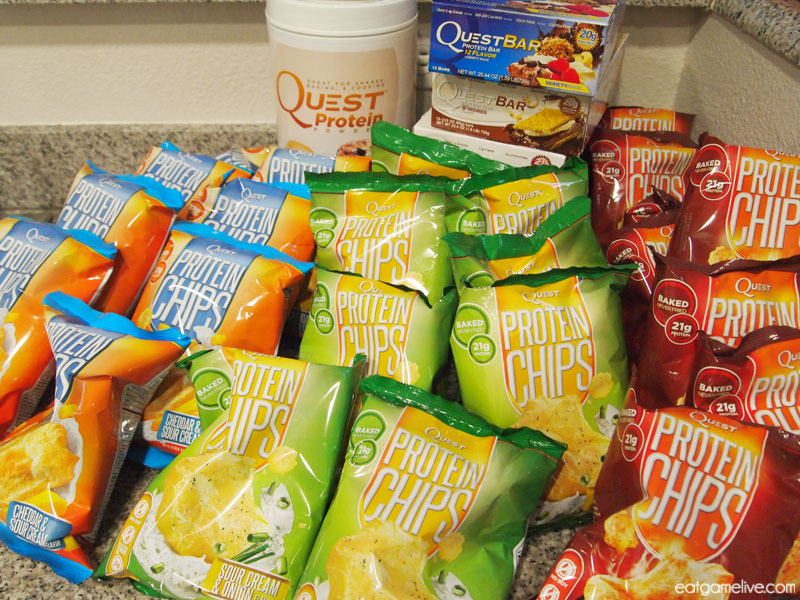 SO MANY DELICIOUS THINGS TO EAT!