
Yaarrr, matey! Are ye after some edible treasures? Well, you’re just in luck because THAR BE TREASURE ON YOUR PLATE. Hahaha!
So you might have been wondering what has happened to little ol’ me for the past few months… I basically needed a hiatus. But don’t worry, I’m back with new tools (including a brand spankin’ new cutting board YES) and new recipes! This time, I’m writing a recipe about a newish, but unreleased game: Heroes of the Storm.
I was fortune enough to gain access to the Technical Alpha, so I messed around trying out various heroes. Considering my history with Blizzard games, it should be no surprise that Valla is typically my hero of choice. I even scored her master skin before the wipe! Vengeance!

Towards the end of the Technical Alpha, I attempted to level up Nova so that I could flaunt the fancy new master skin… Unfortunately, I fell a little short of that goal! But, playing those games on Blackheart’s Bay inspired me to create my latest dish…
BLACKHEART’S DOUBLOONS!
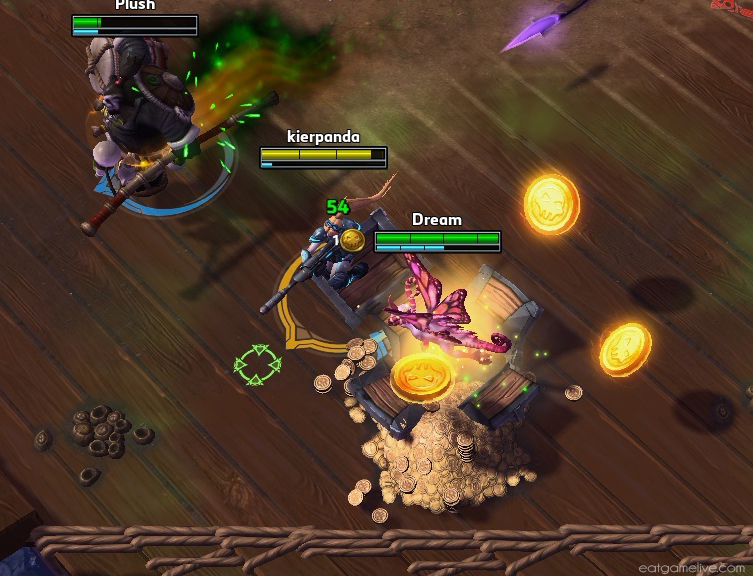
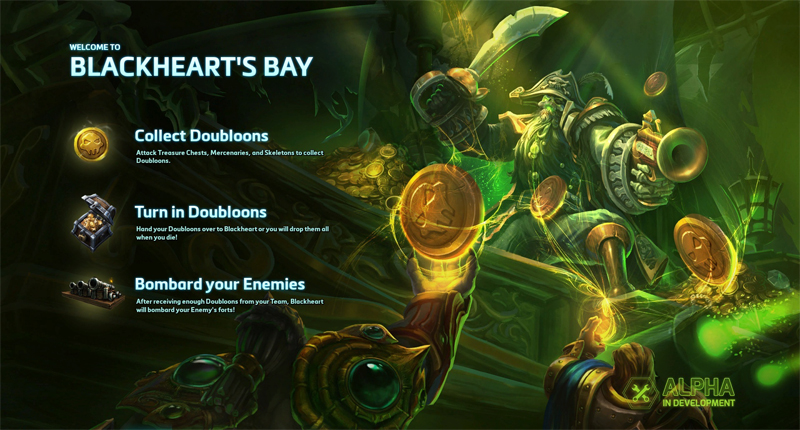
If you’ve seen this map played, you’ll know that there are two treasure chests which spawn doubloons. These chests, especially the midlane chest, are always points of contention between the teams.
I have seen games won solely because one team completely controlled the the chests throughout the match.
When you collect enough doubloons from raiding chests or killing mercenaries, you can pay good ol’ Blackheart to bombard your opponent’s base.

However, my favorite part about this entire map is how goofy the coins are compared to the actual characters in the game. Have you seen the size of those things? They’re ridiculous!
I wanted to recreate these massive coins into something more edible and savory, which is why I chose the pasta route… I even picked up a pasta machine just for this recipe! Yep, we’re going all in on this one!
UNIT COMPOSITION

- salt
- pepper
- 1 tablespoon of thyme
- 1 tablespoon of olive oil
- 3 sprigs of fresh sage
- 3 tablespoons of butter
- 2 shallots, diced
- 4 cloves of garlic, diced
- 1/2 cup of grated asiago cheese
- 1/2 cup of cream
- 1/2 cup of oyster mushrooms, diced
- 3 eggs
- 3 cups of flour
- 1 cup of water
- 1 butternut squash, cut into halves (mine was about ~2lbs)
- OPTIONAL: parsley
As I mentioned earlier, I purchased a pasta making machine. You can get by without it by just using a rolling pin, but it will take longer to get the pasta rolled out evenly.
BUILD ORDER
Total prep time for this dish is about 1 hour. Cook time is 1.5 hours. This recipe will make roughly 6-8 servings (each serving is about 3 ravioli). You may end up with left over stuffing!
OPENING GAME
- Pre-heat your oven to 375° F.
- Remove the seeds* and guts from the squash.
- Sprinkle the two butternut squash halves with salt and thyme.
- Drizzle 1 tablespoon of olive oil over the halves.
- Roast the butternut squash for 50 minutes or until soft. Allow the butternut squash to cool for about 15 minutes.

- While the butternut squash is roasting, prepare the pasta sheets and the rest of the filling.
*once washed and dried, the seeds can be roasted at 375 for ~10minutes with olive oil and finished with sea salt!
MID GAME
The next few parts are extremely messy, so be prepared to clean your kitchen.  You will want to have extra flour on hand in order to prevent the dough from sticking to your working area.
- Pour your flour into a mound on a clean surface.
- Using a measuring cup, create a impression on the top of the mound. This will the bowl for mixing the eggs.
- Crack your 3 eggs and place them in the impression:

- Using a fork, mix the eggs. Once the eggs have been mixed, add in the water and begin slowly incorporating the flour into the liquid to create the dough. As I mentioned earlier, this process is incredibly messy!

- Once the dough begins to take its shape, use your hands to fold the dough in on itself. You may want to occasionally dust your surface with additional flour in order to keep the dough from sticking.

- Cover the dough with a towel or cling wrap and allow it to rest for about 30 minutes.
LATE GAME
- Heat 1 tablespoon of butter in a small pan.
- Sautee your mushrooms, shallots and garlic. Remove once the vegetables have become caramelized. Set aside.
- Once your butternut squash has cooled, scoop the meat out with spoon and place it into a bowl.
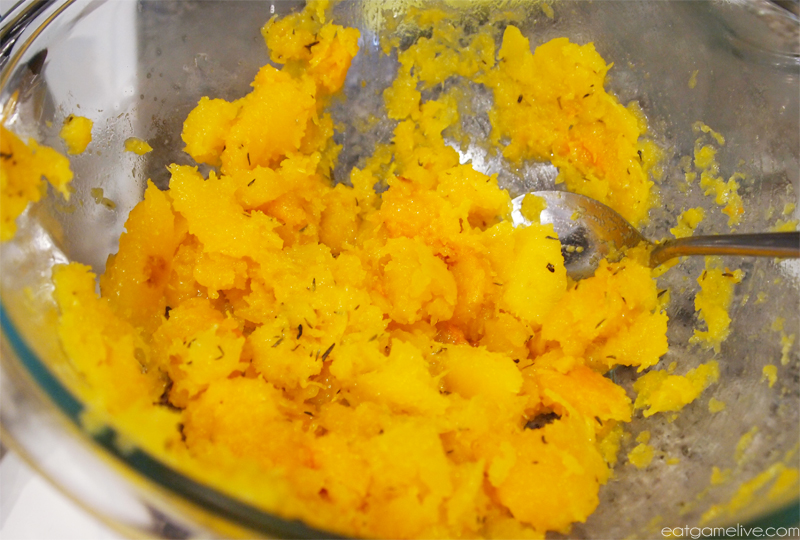
- Mash the butternut squash until smooth. Add in your sauted vegetables, half of the cheese, and the cream. Stir until combined thoroughly. Season with salt and pepper to taste.
- To prepare your pasta sheets, break your dough into four sections. Using a rolling pin (dusted with flour), roll your dough sections into sheets small enough to fit through your pasta machine. Dust your pasta machine with flour.
- You will want your pasta rolled out on the 2nd thinest setting on the machine. Roll out your pasta onto a floured surface.
- Once your pasta has rolled out, cut out circles (I used a 3″ cookie cutter, but you could also use a pint glass) in the dough. Place a tablespoon of filling onto the circle cut outs.

- Cut out another circle and place it on top of filled piece and seal each ravioli shut by pressing down on the dough. At this point, you may want to nudge the filling to help reinforce the doubloon shape.
- Using left over dough, cut out skull shapes to place on the ravioli. Once cut out, gently dampen each skull with water and adhere them to the ravioli. (I only made a few of the skulls because they’re a lot of work!)

- Set a pot of water to boil and season the water with salt. Once the water boils, drop the ravioli in one at a time. The ravioli should take about 2 minutes to cook. Remove them immediately.
- In a small pan, heat the remaining 2 tablespoons of butter. Add in your sprig of sage. While the butter is cooking, remove the milk solids (the white foamy stuff) by skimming the top of the surface with a spoon. This will create clarified butter.
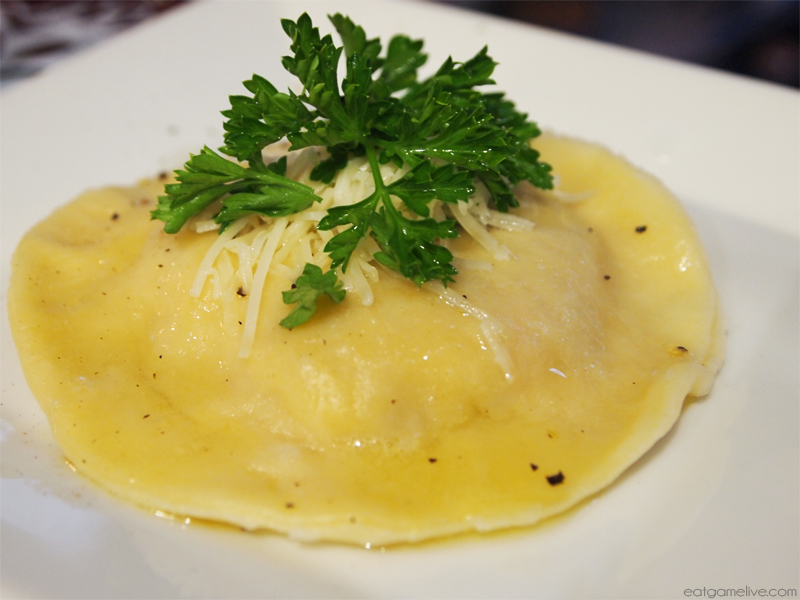
- Plate your ravioli doubloons and drizzle the sage butter sauce over them. Garnish with grated cheese, pepper, and fresh parsley.

GG WP, hero!
However, if you don’t want to serve your mateys doubloons, the ravioli looks fine without the skulls.
Since Heroes of the Storm is offline for a few days, you now have a chance to recreate these tasty treasures in your own kitchen. Hopefully I’ll see you in the Nexus once Heroes is back online!
Happy cooking!
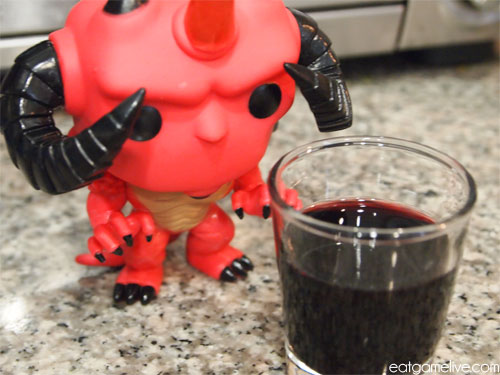
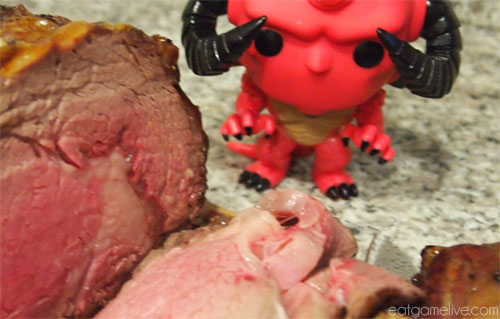
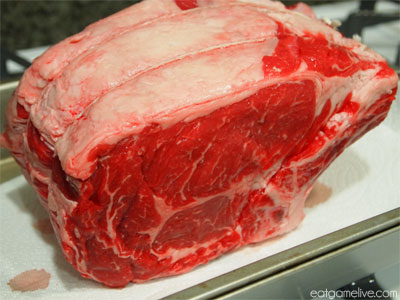
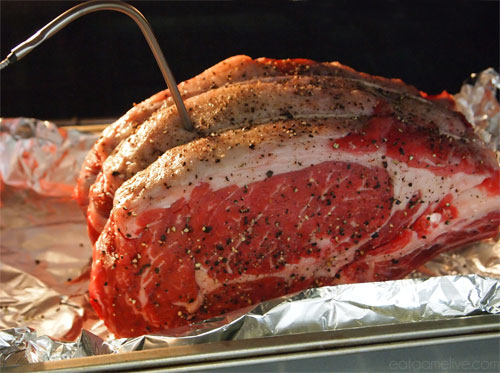
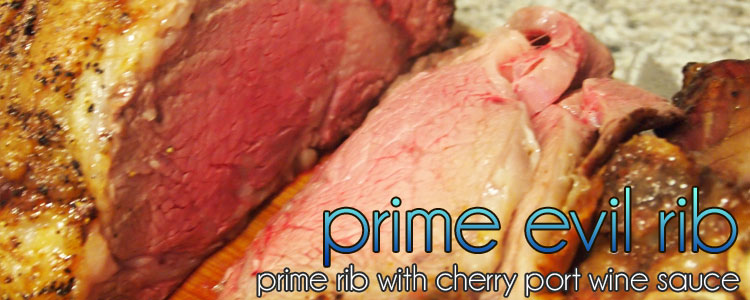 In honor of Diablo III’s birthday, I decided that I wanted to create a very special dish for the Lord of Terror. We all know Diablo as the “Prime Evil”, but do you know what else is prime? PRIME RIB, OF COURSE!