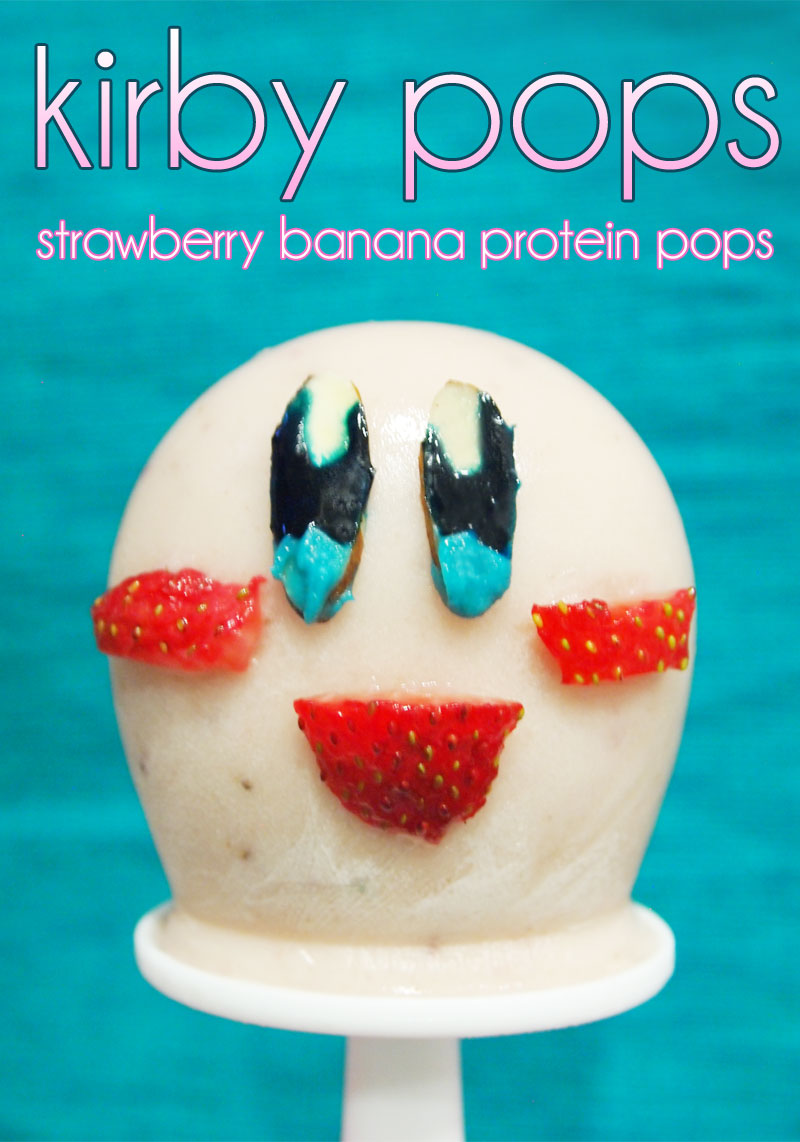
kirby pops [strawberry banana protein pops]

blog_kirbypops_title

Growing up, I would play A LOT of N64 games. It was basically an after school ritual for me — I’d come home, eat a snack and then immediately become glued to the television and my console.

One of my favorite games is Super Smash Brothers. I would play hours on end and when I returned to school the next day, I’d jump into these deep discussions about why I thought Kirby was a really awesome character to play. I mean, c’mon, he basically can steal anyone’s special! Plus, that   ? special? HE TURNS INTO A ROCK TO CRUSH HIS ENEMIES!
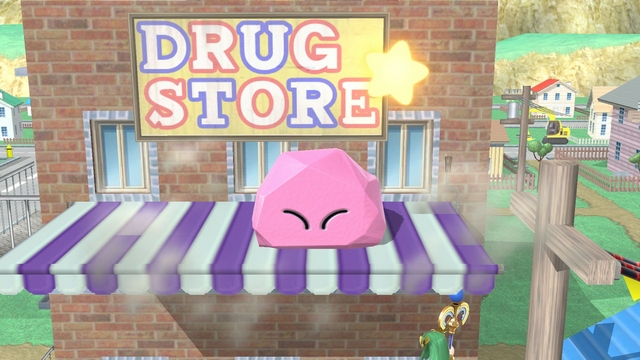
Stone_SSBWU

Because I enjoyed playing Kirby so much in Smash, I eventually rented a copy of Kirby 64 from Blockbuster. Yeaaaah, that was quite a while ago.

Admittedly, I still don’t know what Kirby is. I just know that he’s a happy little dude who LOVES to eat. So, I’m sure he would appreciate having his imaged turned into a tasty popsicle!

UNIT COMPOSITION

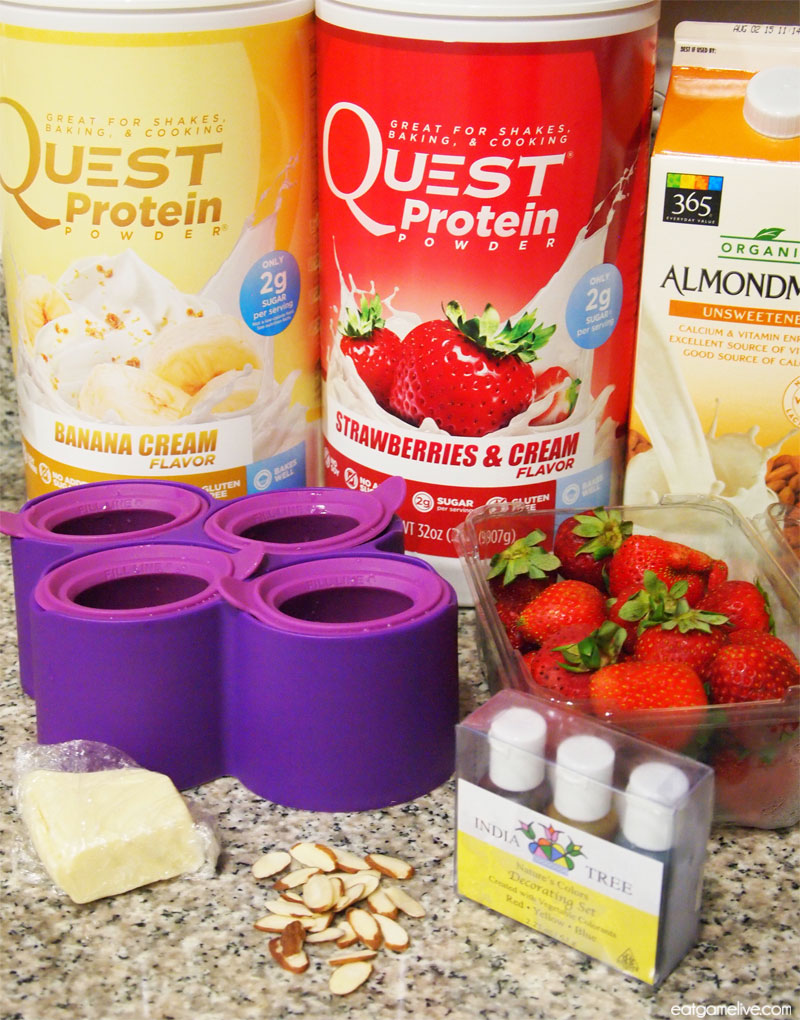
blog_kirbypops_ingredients

  1. 1/2 cup of strawberries
  2. 1 1/2 cups of almond milk
  3. 1 scoop of Quest Banana Cream protein powder
  4. 1 scoop of Quest Strawberries & Cream protein powder
  5. 2 tablespoons of white chocolate, melted
  6. 8 sliced almonds
  7. a few drops of blue food dye

BUILD ORDER

Prep time for this takes about 10 minutes. Chill time for this is about 6 – 8 hours. Decorating time is about 15 minutes. This makes 4 servings.

Each serving contains: 11g of Protein, 1g of Fat, and 1g of Net Carbs

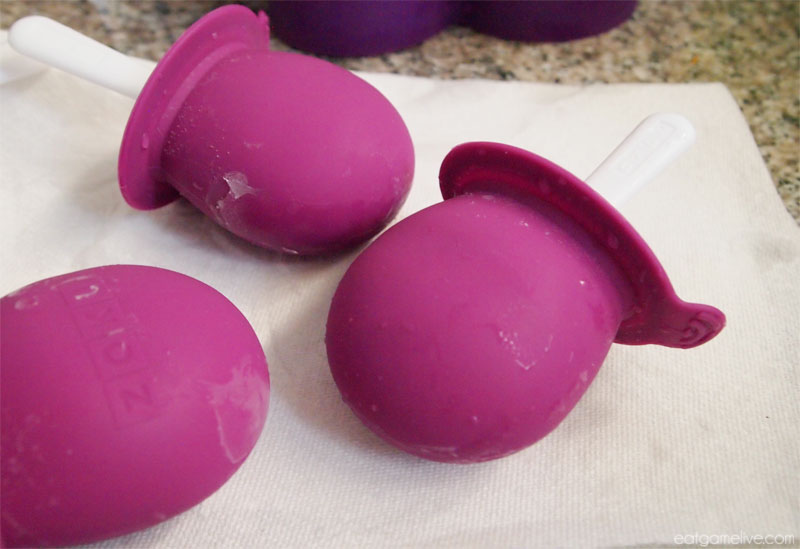
You will need a round ice popsicle maker for this recipe.

OPENING

  1. Combine your protein powders with almond milk in a blender. It should have a fairly thick consistency (think pudding!).
  2. Reserve two of your strawberries, and slice the rest. The remaining two will be used to make the mouth and the blush.
  3. Add your sliced strawberries to your protein mix. Blend the strawberries into the mix.

MID GAME

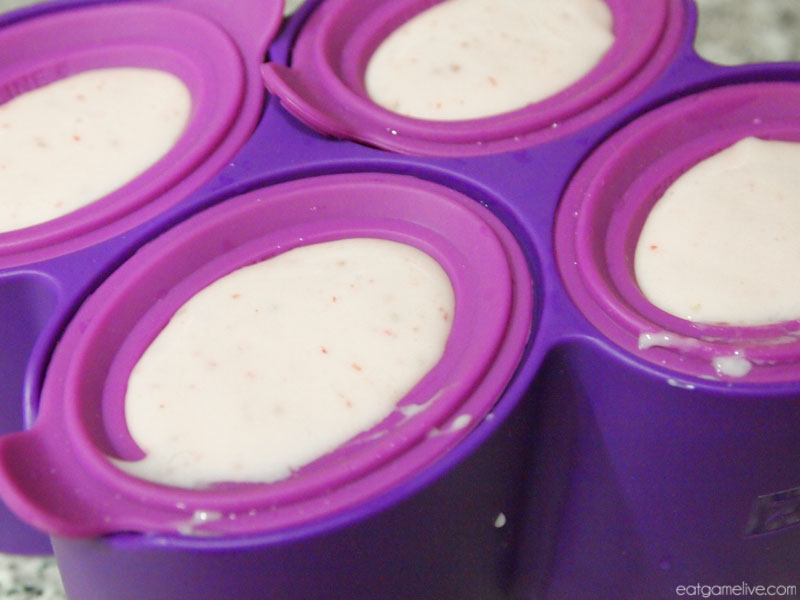
  1. Carefully pour the mixture into each popsicle mold.
    blog_kirbypops_maker
  2. Freeze for 6 – 8 hours.

LATE GAME

  1. Heat your white chocolate until it melts. Carefully add 2 drops of blue food coloring. Stir the food coloring into the chocolate.
  2. Dip the end of an almond slice into the white chocolate. This will create the blue part of Kirby’s eyes. Repeat this step for 7 more almond slices.
  3. Let the chocolate on the almond dry.
  4. Add more blue food coloring to the white chocolate. You’ll want the chocolate to be as dark as possible.
  5. Using a toothpick or a chopstick, gently drizzle the dark chocolate above the blue part of the almond. Be sure to leave a white space at the top. Allow the chocolate to dry for about 5 minutes.
  6. Remove your popsicles from the freezer and take them out from their molds.
    blog_kirbypops_popmolds
  7. Slice your strawberries and cut out shapes to create Kirby’s mouth (basically cut out a “D”) and blush.
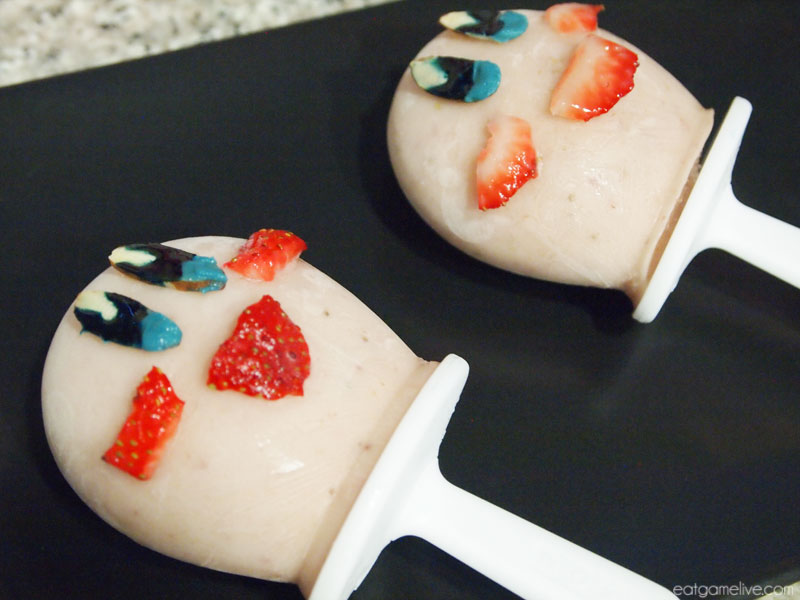
  8. Dampen the back of the almonds and strawberries with water. Then, lay your popsicle horizontally (I used a mug to hold up mine) and adhere the almonds and strawberries to the pops.
  9. Place the popsicle back in the freezer for 2 minutes.
  10. Remove from the freezer and eat!

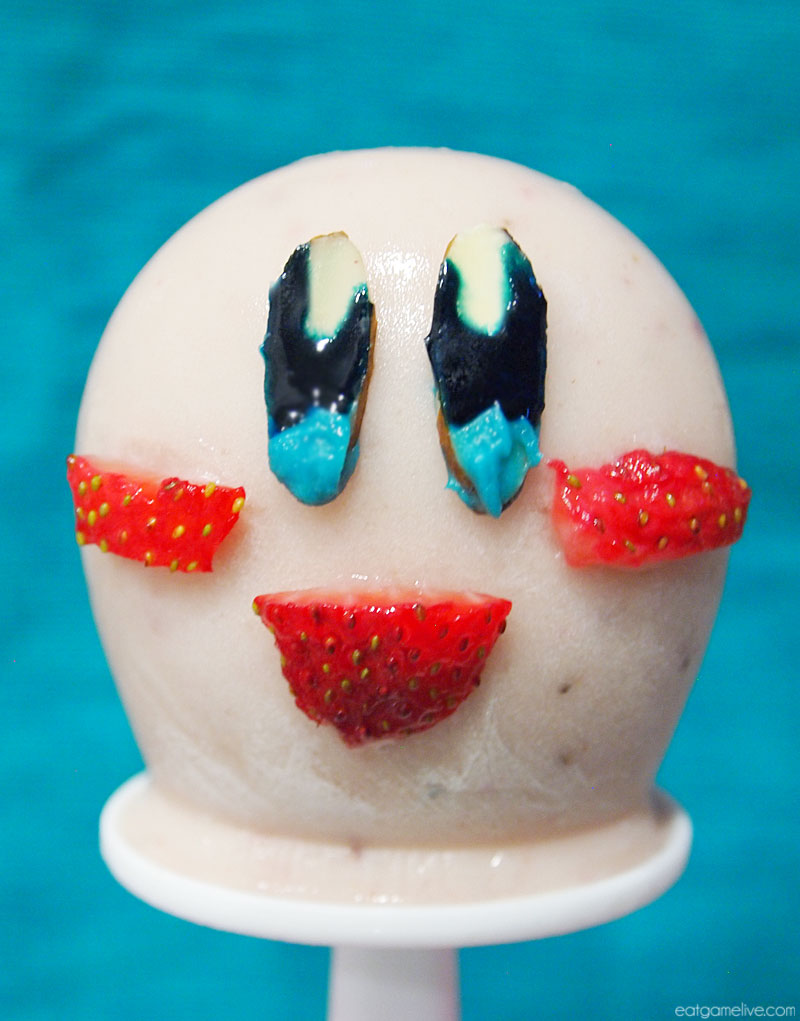
Ta-da! It’s KIRBY! GG WP. :)

blog_kirbypops_done

Now you’ve got this portable Kirby to nibble on during the warm summer days!

blog_kirbypops_two

——————————————————————————————————————————–

This recipe was created with support from Quest Gaming. Follow them on Facebook, Instagram and Twitter to learn more about how other gamers eat healthy and #CheatClean.

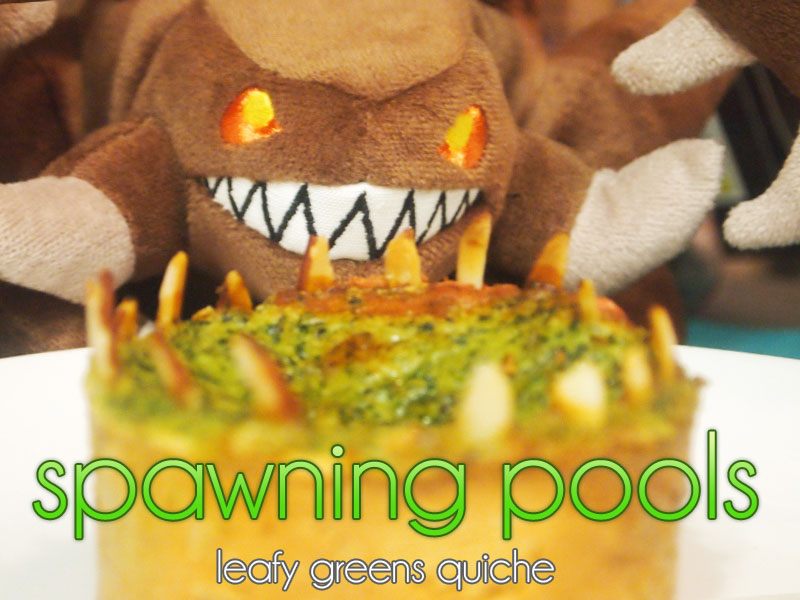
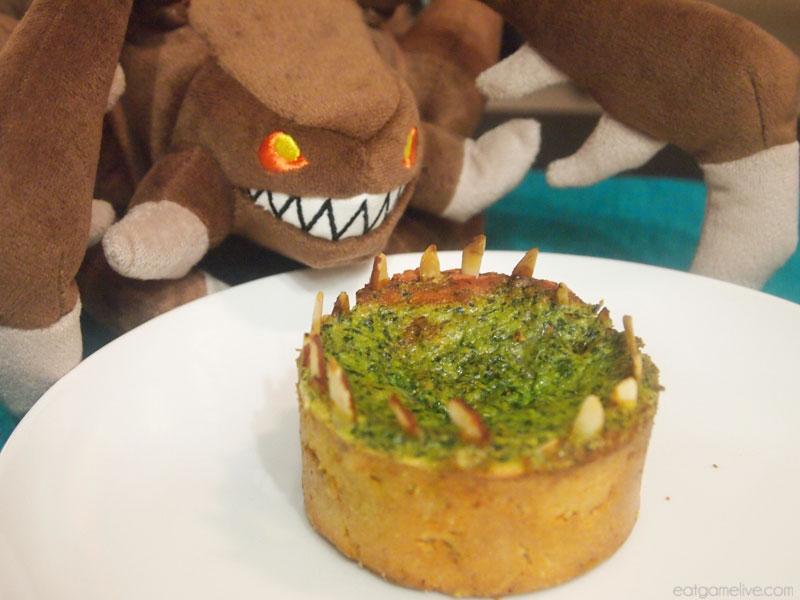
spawning pools [leafy greens quiche]

blog_spawningpools_title

Have you ever wondered why Zerglings are in such great shape? I mean, they run marathons around Marines and Zealots without breaking a sweat.

I’m sure the creep spread throughout the terrain helps, but I’m convinced that these little Zerglings have an incredibly healthy diet. Their brood mothers probably make sure they eat all of their veggies before storming the enemy base.

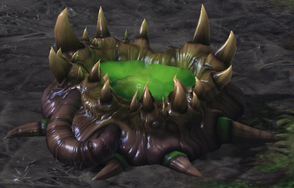
294px-Spawning_Pool

I assume all the veggies are kept in the spawning pool… That’s why it’s green, right? It’s just pureed leafy greens!

Why else would Zerglings be so fast? Clearly, it’s diet and exercise! Perhaps they use Quest Protein in their creep spread?

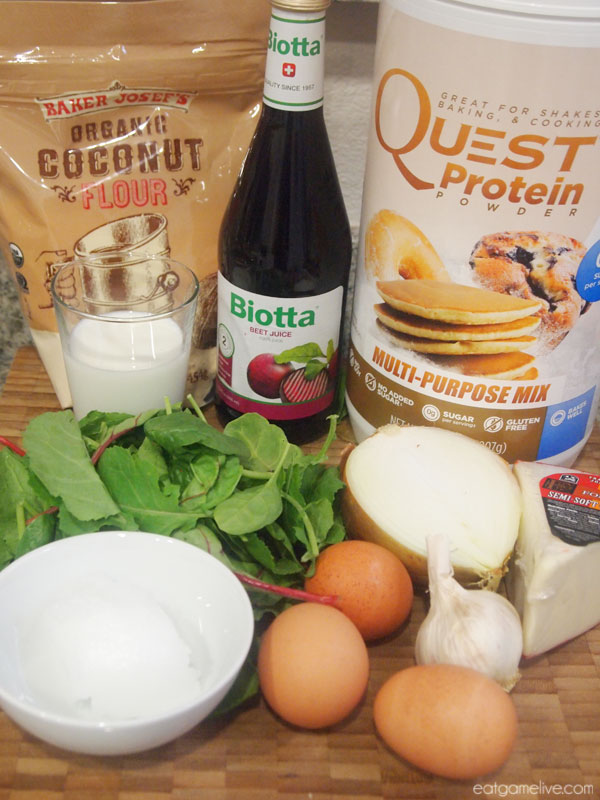
UNIT COMPOSITION

blog_spawningpools_ingredients

  1. 1 teaspoon of olive oil
  2. 2 teaspoons of salt
  3. 1 1/2 tablespoons of coconut oil
  4. a handful of sliced almonds
  5. 3 cloves of garlic, chopped
  6. 2 scoops of Quest multi-purpose mix protein powder
  7. 3 eggs
  8. 1/4 cup of milk
  9. 1/4 cup of water
  10. 1/3 cup of fontina cheese, shredded
  11. 1/3 of an onion, diced
  12. 1/3 cup of spinach
  13. 1/3 cup of swiss chard
  14. 1/3 cup of kale
  15. 3/4 cup of coconut flour (or almond flour)
  16. OPTIONAL: 1 tablespoon of beet juice

You’ll also need 4 ramekins.

BUILD ORDER

Prep time for this recipe is about 30 minutes. Total cook time is roughly 25 minutes. This makes about 4 – 5 servings.

Each serving contains: 23g of Protein, 10g of Fat, 21g of Carbs (12g of Fiber)

OPENING

  1. Combine your protein powder, 1 teaspoon of salt,  flour and 2 eggs in a bowl.
  2. Add in your beet juice. The beet juice is just to add color — this step is optional.
  3. Add in your 1/4 cup of water and melted coconut oil. and mix all the ingredients together until a dough forms.
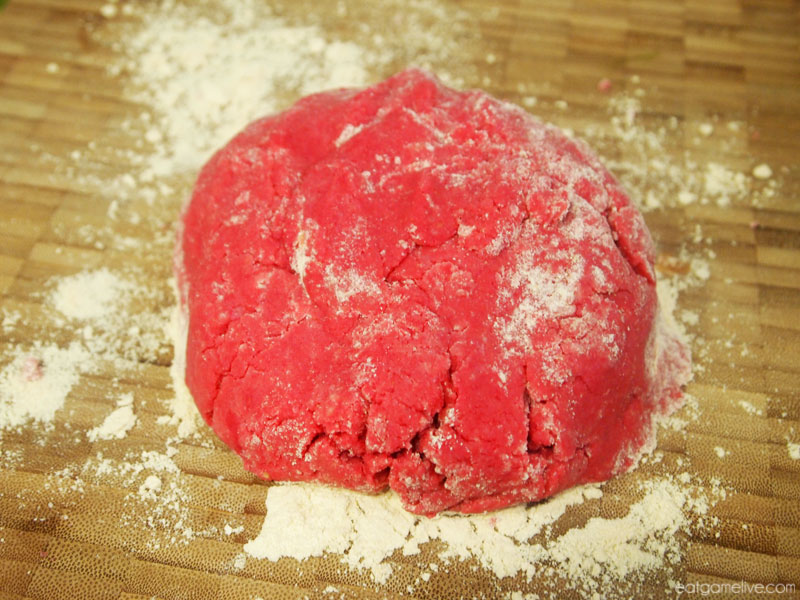
  4. Place your dough on a clean surface that has been dusted by coconut flour (or the flour of your choosing)
  5. Knead the dough into a ball.blog_spawningpools_dough
  6. Divide the dough into four sections.
  7. Place each of the four sections into the ramekins. Mash the dough to fit the form of the ramekin.
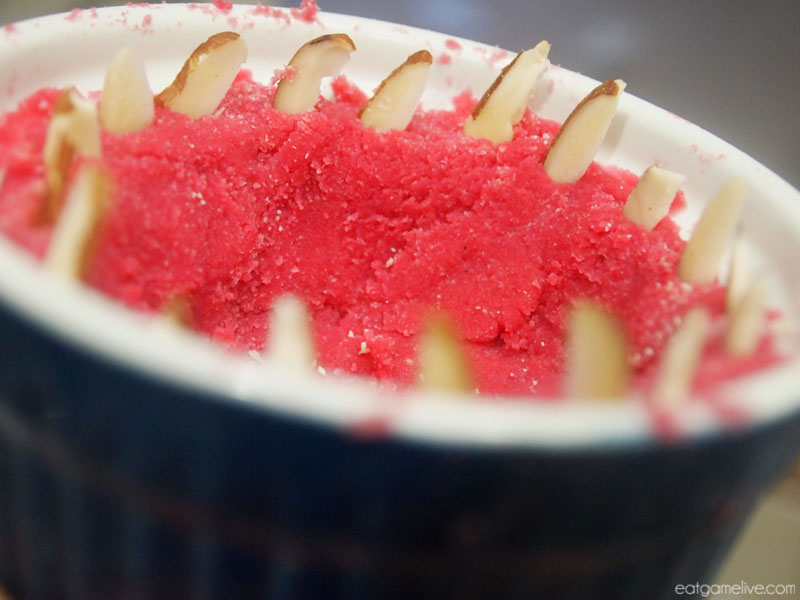
  8. Place your almonds on the edges of the dough to make the “teeth” of the spawning pool.
  9. blog_spawningpools_teeth
  10. Bake these ramekins in an oven set to 350°F for 10 minutes. This is just to get the dough to harden up before adding in the filling.

MID GAME

  1. Set a small pan on high heat. Once the pan comes up to temperature, add in your olive oil.
  2. Sweat your garlic and onions. The onions will become translucent when they’re ready.
  3. Add in your leafy green vegetables and cook for about 1 minute, or until they’re wilted.
  4. Place the cooked vegetables in a blender. Add in your milk and blend.
  5. Add in your egg and blend.
  6. Add in your cheese.

LATE GAME

  1. Remove the empty spawning pools from the oven.
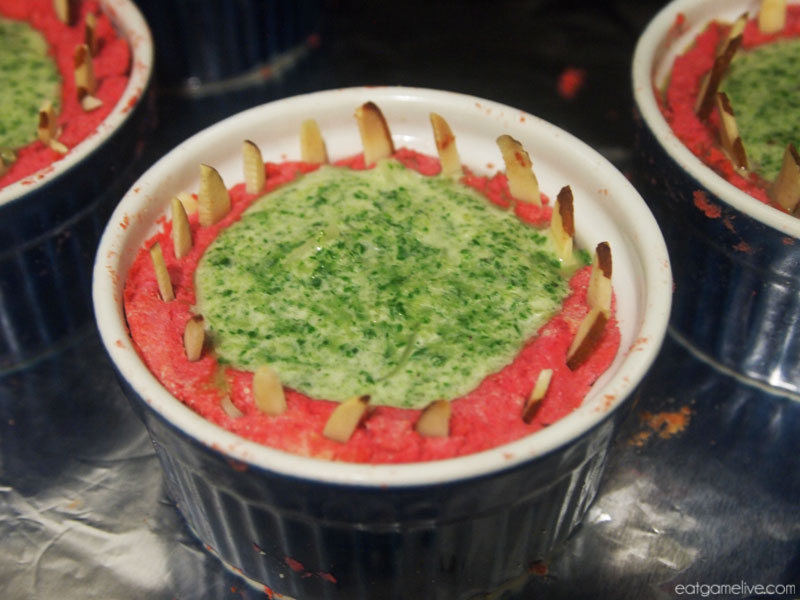
  2. Pour your vegetable puree into each of the spawning pools.
    blog_spawningpools_cooking
  3. Bake them in the oven set to 350°F for 15 minutes
  4. Let cool for about 5 minutes.
  5. Eat!

GG WP!

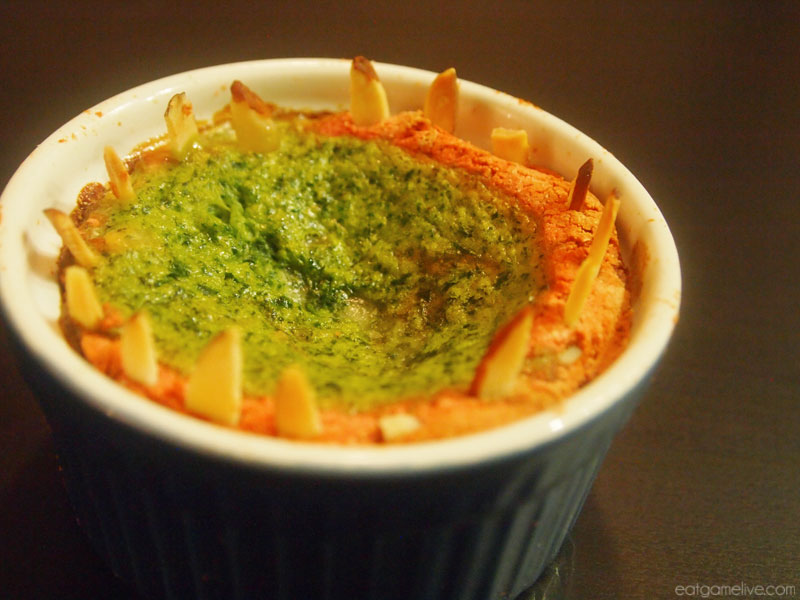
Now you’ve got a tasty little treat fit for the swarm!

blog_spawningpools_done

Enjoy these healthy snacks while watching the finals of the WCS!

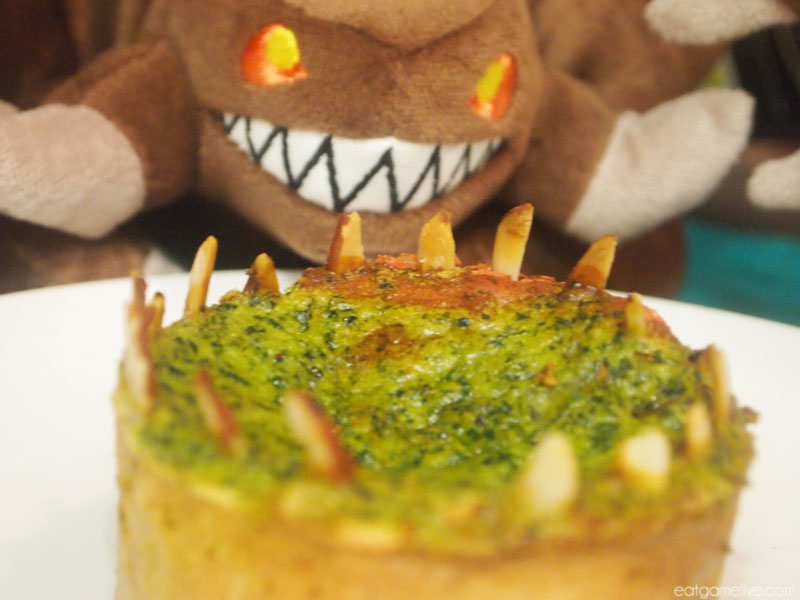
blog_spawningpools_zergling

Or maybe the GSL Code S finals?

blog_spawningpools_zergling2

It’ll be an eSports packed weekend for StarCraft II. But don’t worry, you’ll be prepared with these Spawning Pool Quiches. FOR THE SWARM!

——————————————————————————————————————————–
This recipe was created with support from Quest Gaming. Follow them on Facebook, Instagram and Twitter to learn more about how other gamers eat healthy and #CheatClean.