conjured mana brownies [salted caramel espresso brownies]

blog_manabrownies_title

If you’re ever feeling hungry in World of Warcraft, you can always ask a friendly mage to conjure up some delicious refreshments. It’s like POOF, food just comes out of no where!

Unfortunately, I didn’t roll a mage, so I have to create brownies a different way: by scratch!

blog_manabrownies_whelp

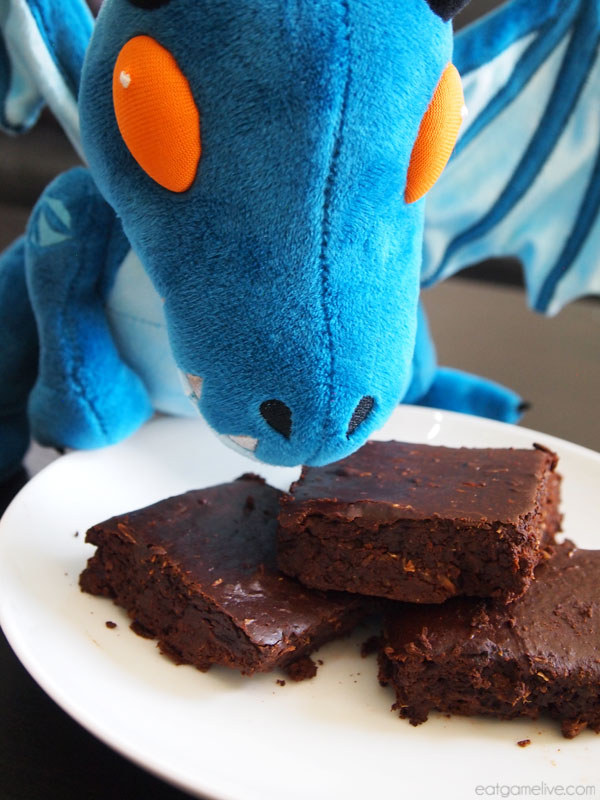
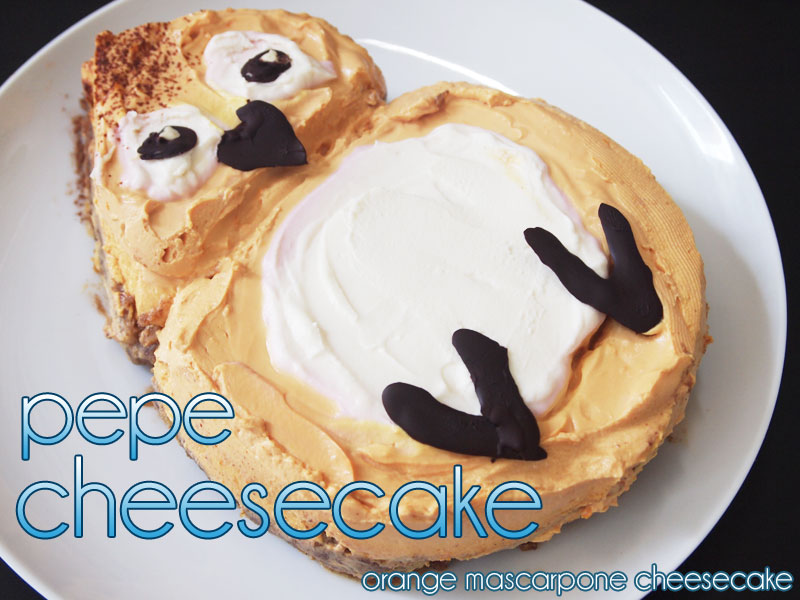
Whelplings love brownies!

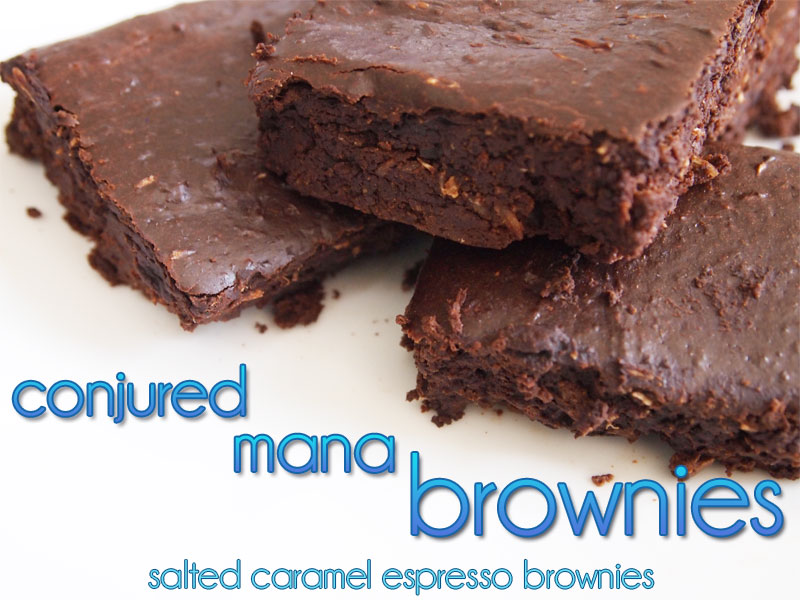
These conjured mana brownies vary from its Azeroth-counterpart because they’re packed with protein and caffeine. Talk about a real mana boost!
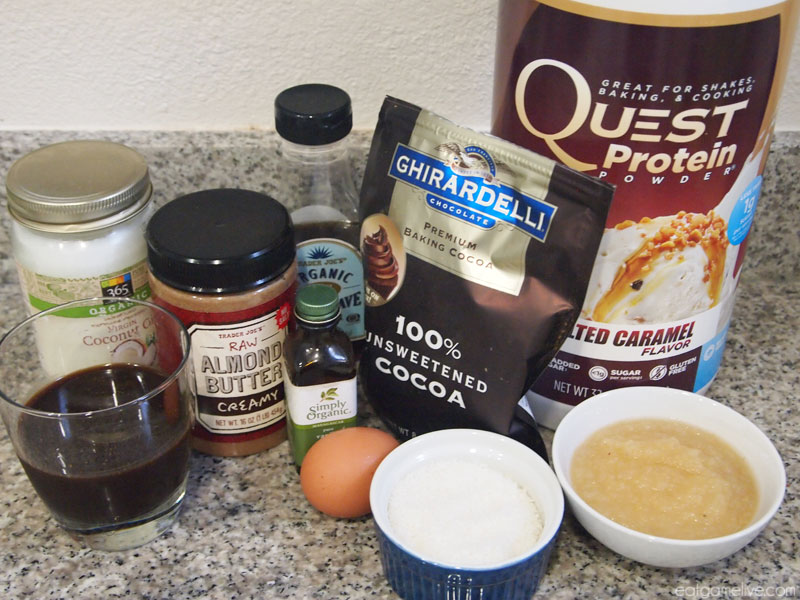
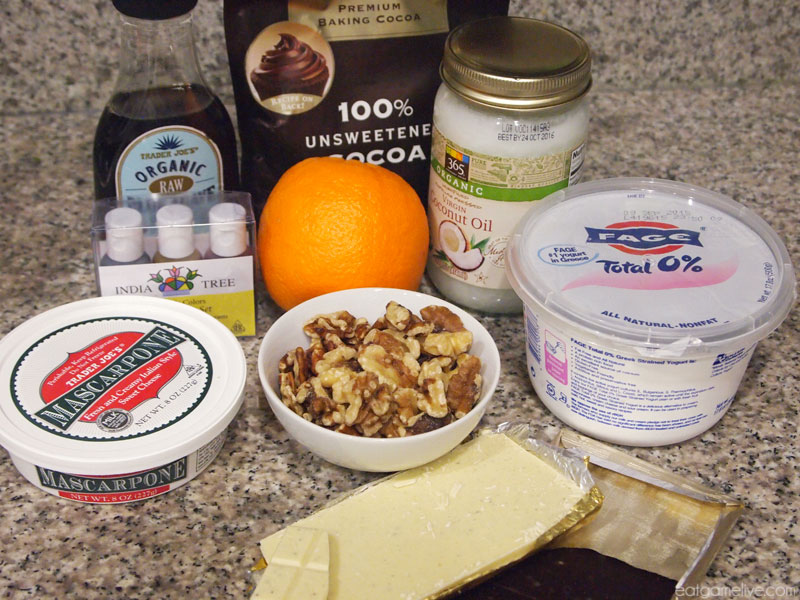
blog_manabrownies_ingredients

UNIT COMPOSITION

  1. 1 egg*
  2. 2 teaspoons of vanilla extract
  3. 2 scoops of Quest salted caramel protein powder
  4. 1 1/2 tablespoons of almond butter
  5. 2 tablespoons of raw agave
  6. 2 tablespoons of shredded coconut
  7. 1/2 cup of cocoa
  8. 1/2 cup of apple sauce
  9. 5 -6 oz of espresso
  10. 1 teaspoon of coconut oil

*Make this recipe vegan by substituting the egg for 1/4 cup of apple sauce!

BUILD ORDER

Prep time for this recipe takes about 15 minutes. Cook time is 20 minutes. This will make about 12 brownies.

Each brownie contains: 5g of Protein, 2g of Fat, 5g of Carbs and 2g of Fiber.

Recipe adapted from the Buff Dude’s Protein Brownies.

OPENING

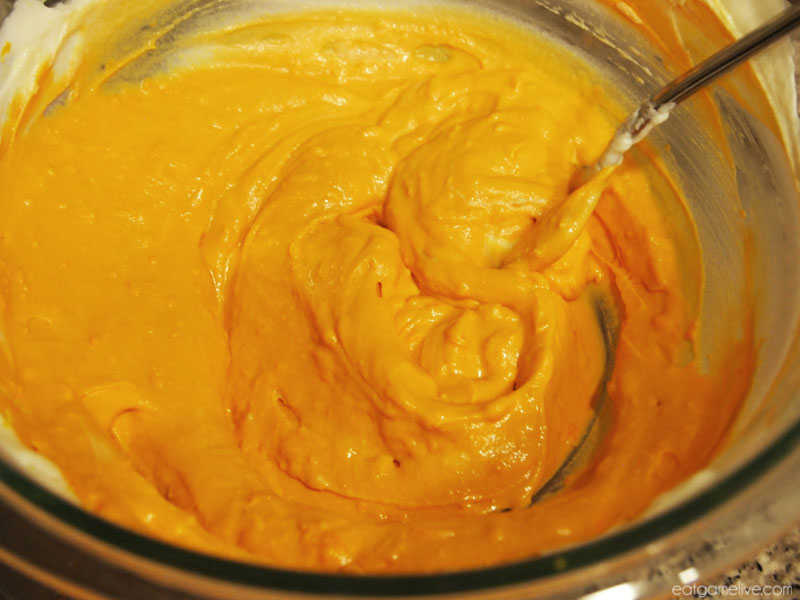
  1. In a large bowl, combine your salted caramel protein powder with your cocoa.
  2. Add in your egg and vanilla extract. Stir until mostly combined.
  3. Add in your almond butter, agave, and apple sauce. Stir.

MID GAME

  1. Add in your espresso and stir. At this point, the batter should be at a “runny” consistency.
  2. Add in your shredded coconut and stir. This will add some texture and thicken the batter.

LATE GAME

  1. Pre-heat your oven to 350° F.
  2. Place 1 teaspoon of coconut oil in a baking dish. Use a paper towel to rub the coconut oil inside the dish to thoroughly grease it.
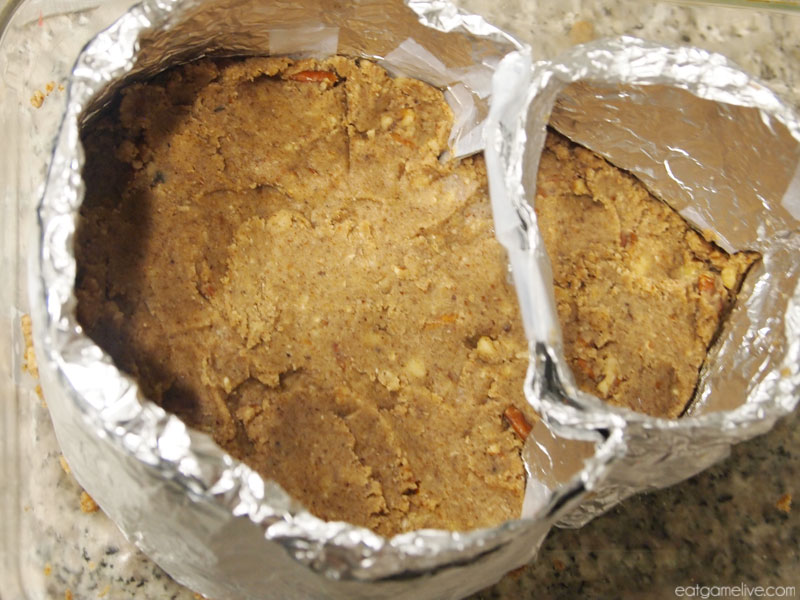
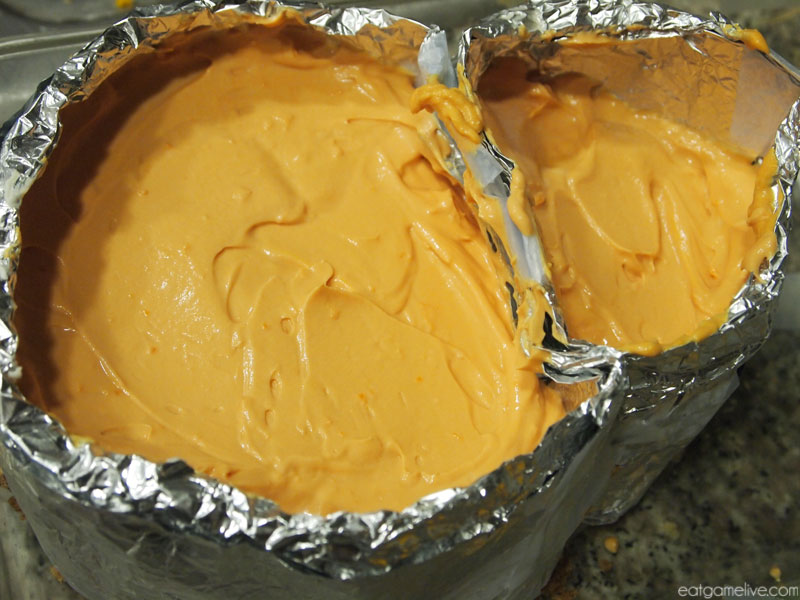
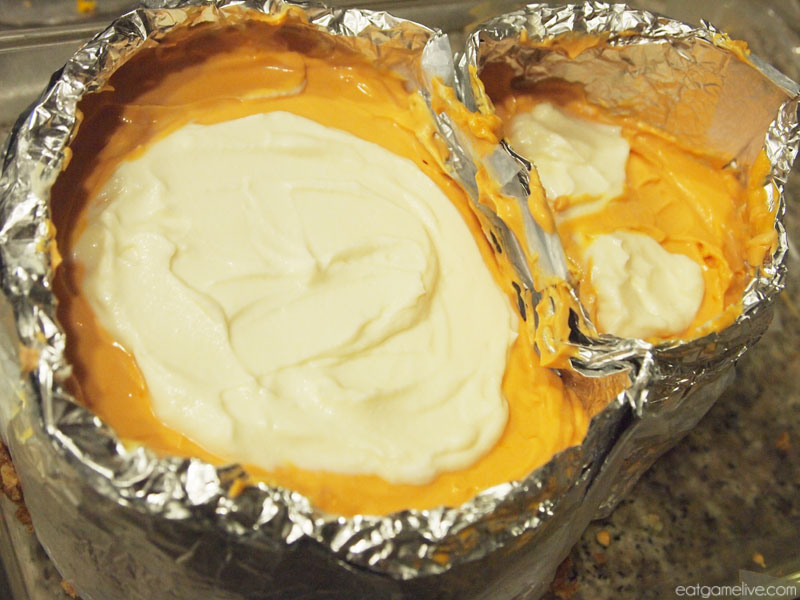
  3. Pour your batter into the baking dish.
    blog_manabrownies_mix
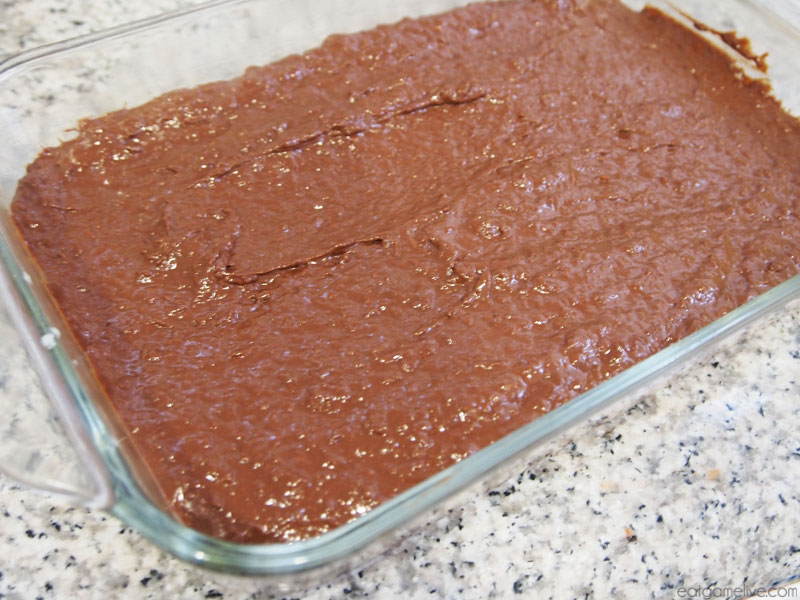
  4. Bake for about 20 minutes or until the brownie has baked through. You can test this with a toothpick — just poke the brownie with a toothpick; if the toothpick comes out clean, then you’re done!
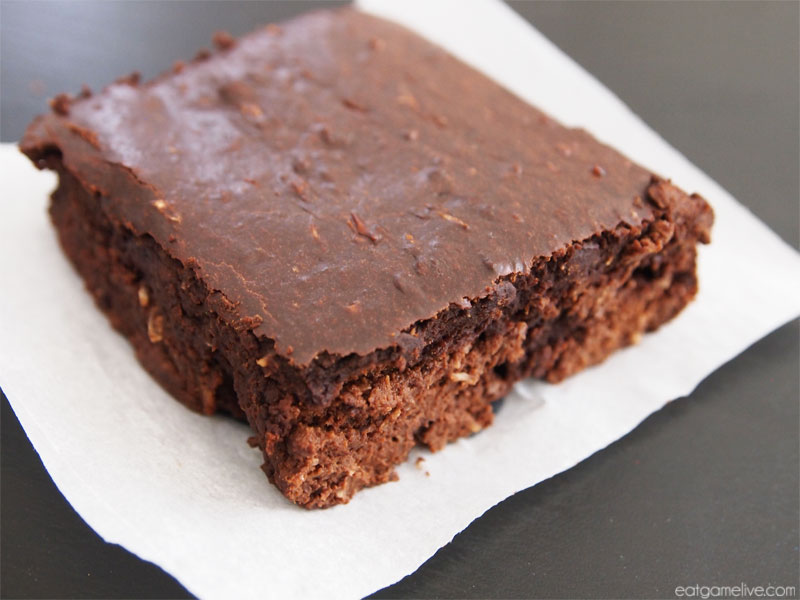
  5. Let the brownie cool for about 5 minutes. Then, cut it into even squares.
  6. Eat!

GG WP!

blog_manabrownies_done

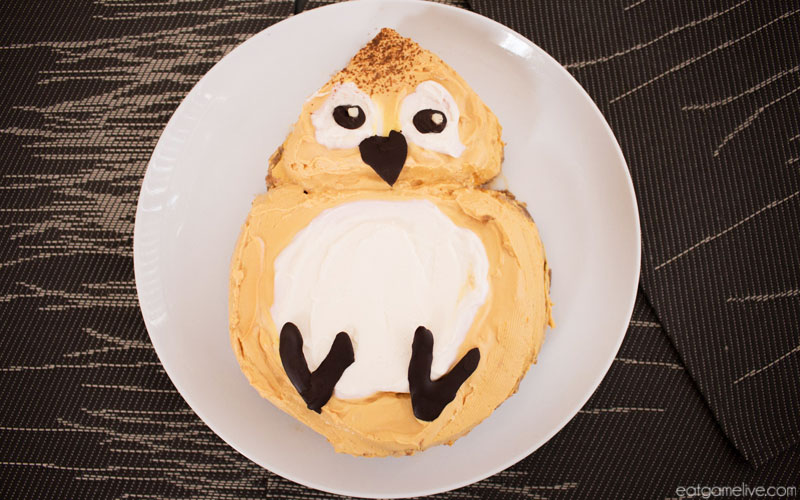
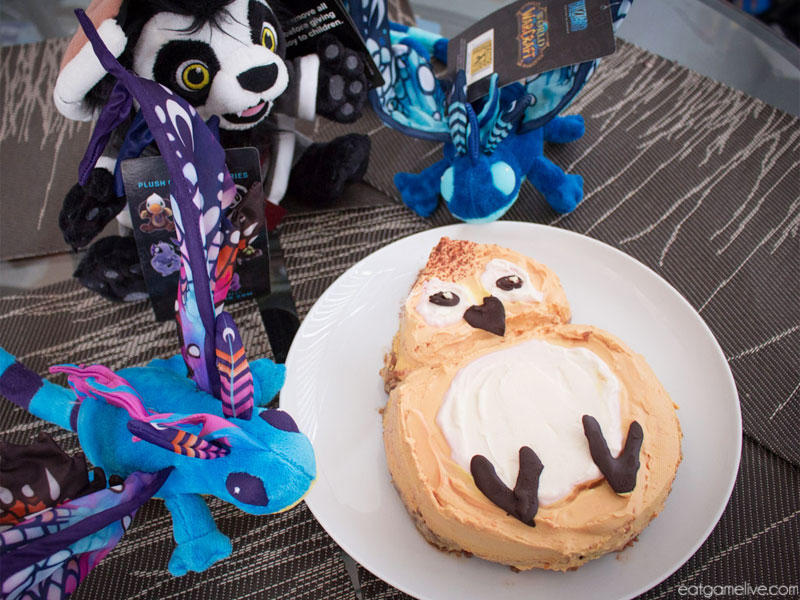
Now you’ve got a delicious conjured mana brownie to enjoy! You can keep it all to yourself, or you can share it with some magical friends:

blog_manabrownies_dragons

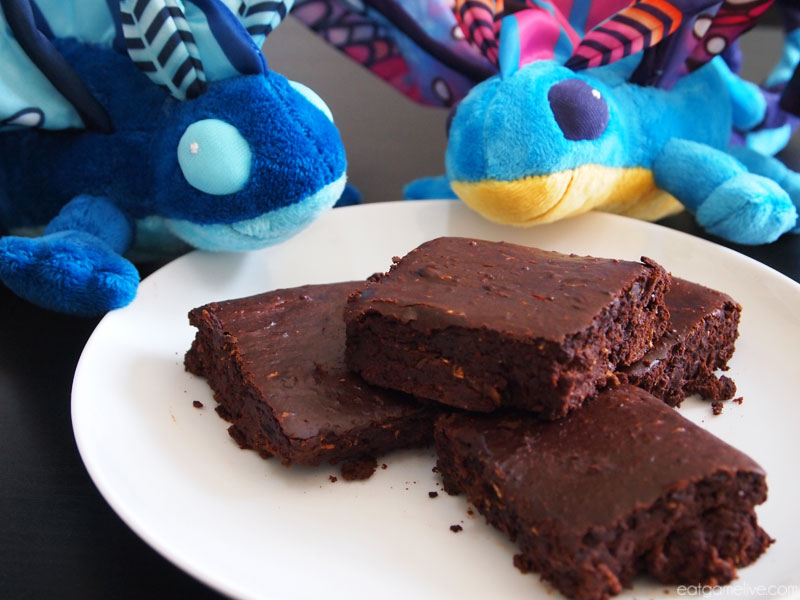
I’m sure those faerie dragons love protein! I mean, how do you think Brightwing got so strong? I bet she eats a TON of protein.

Happy adventuring!

——————————————————————————————————————————–

This recipe was created with support from Quest Gaming. Follow them on Facebook, Instagram and Twitter to learn more about how other gamers eat healthy and #CheatClean.

pepe cheesecake [orange mascarpone cheesecake]

blog_pepecheescake_title

Pepe is the adorable little bird who lives in your Garrison. You can bring him out on peaceful adventures like running around Draenor destroying your greatest enemies. Hooray!

blog_pepecheesecake_ingame

“Let’s go rekt people, Pepe!”

I thought it was time to immortalize Pepe into a delicious and delectable treat. I had experimented with recreating Pepe as a meringue cookie, but it didn’t work out. When I stumbled upon Maqaron’s tutorial on how to create a no-bake bunny cheesecake, I knew that was the answer!

UNIT COMPOSITION

blog_pepecheesecake_ingredients

  1. 1 pinch of salt
  2. 1 teaspoon of nutmeg
  3. 2 teaspoons of cinnamon
  4. 2 teaspoons of coconut oil
  5. 1 tablespoon of chocolate powder (decoration)
  6. 2 tablespoons of agave nectar
  7. 1 cup of walnuts
  8. 1 cup of pecans
  9. 2 cups of mascarpone cheese
  10. 3 cups of greek yogurt
  11. zest from 1 orange
  12. 5 – 6 drops of red and yellow food coloring
  13. 1 square of white chocolate
  14. 4 squares of dark chocolate

BUILD ORDER

Total prep time for this is about 45 minutes – 1 hour. Chill time for this is 4 – 6 hours.
This makes about 8-10 servings!

OPENING

  1. Add the nuts into a food processor. Add in your coconut oil.
  2. Season with your nutmeg and cinnamon. Pulse the nuts until they form a fine paste.
  3. Using foil, create the outline of Pepe. Basically, you’ll want to take a large sheet of foil and fold it horizontally until the sheet is about 4″ in height. Create a sheet that is about 10″ in length. This will be the body.
  4. Create another one that is about 6″ in length and 3″ in height. This will be the head. Shape the foil to a pointed tip.
  5. Tape the two pieces of foil together and place them into a baking dish. I used a 15×10″ glass baking dish. Adjust the foil to the size of the baking dish.
  6. Where the two foil shapes combine, make a cut into the foil. You’ll want to cut a rectangle that is 2″ high and 3″ across. You’ll want to leave a 2″ “bridge” that holds the two foil shapes together. See this portion of Maqaron’s tutorial for better clarification.
  7. Tape down the entire foil mold to your baking dish.
  8. Slowly add in the ground nuts to the base of the mold. Firmly press the ground nuts into place. This will be your crust.
    blog_pepecheesecake_foil
  9. Place the entire thing in the fridge and allow it to cool.

MID GAME

  1. Place your mascarpone cheese and yogurt in a large bowl. Add in your agave and a pinch of salt.
  2. Whisk gently until combined. Take about 1 cup of the mixture and set aside. This will be the white parts for Pepe’s eyes and stomach.
  3. Zest the orange over the cheesecake filling. Fold in the orange zest.
  4. Slowly add in the red and yellow food coloring. Continue folding the cheesecake filling until orange. If the color isn’t bright enough, add in more color.
    blog_pepecheesecake_filling
  5. Remove your mold from the fridge.
  6. Spread the orange cheesecake mix over the crust.
    blog_pepecheesecake_mold
  7. Place it back in the fridge for about 5 minutes.
  8. Take your white cheesecake mix and spread portions over the orange part like so:
    blog_pepecheesecake_whites
  9. Place it back in the freezer and allow it to cool for at least 4 hours.

LATE GAME

  1. Slowly cut away the foil mold from Pepe.
  2. Using two spatulas (highly recommend getting some help with this!), gently lift Pepe from the baking dish and place him on a large dish. Use a butter knife to smooth out the edges.
  3. Using a double boiler, melt your dark chocolates and white chocolate separately.
  4. Gently pour “V” shapes with the dark chocolate on a piece of parchment paper. This will become Pepe’s feet.
  5. Pour a triangle shape to create his beak and two circles for his eyes.
  6. Place the chocolate in the fridge and allow it to cool for about 2 minutes.
  7. Remove the chocolate from the fridge. Using the white chocolate, draw two white circles on top the dark chocolate eyes. Place them back in the fridge.
  8. Using a sifter, dust the dark chocolate powder over the tip of Pepe’s head.
  9. Place the chocolate decorations on Pepe.
  10. Eat!

GG WP!

The super talented Meru came by and took these awesome photos of my Pepe cheesecake! Did I mention she is AMAZINGLY talented when it comes to food?  SERIOUSLY!

blog_pepecheesecake_done

Chirp chirp!

blog_pepecheesecake_plushies

Since cheesecake is so decadent, I highly recommend that you share it with friends. :)